How to Safely Dig Out a Snowed‑In Car (From a Pro)
We walk you through how to safely dig out a snowed‑in car yourself—and the red flags that mean it’s time to call a snow removal service instead.
"Can You Just Dig Out My Car?" – A Call That Started This Guide
We recently got a call from a customer — let’s call him Jake — that sums up a question we hear a lot after big storms.
Jake’s SUV was parked on the street, boxed in by heavy snow in front and behind. He lives with two elderly family members and had already tried to move some snow with a small shovel, but the plowed snow was basically like concrete. He told our office, “I think it’ll only take 20 minutes tops… I just need the snow in front and behind the car cleared so I can get out.”
When Jake called our office, our dispatcher asked him a few quick questions: where the car was parked, how high and packed the snow looked, and whether there was ice or just snow. From there, we explained our minimum service fee, that we don’t actually touch or brush off the vehicle itself, and that our snow removal crew would swing by, take a look, and let him know exactly what we could do.
We handle a lot of calls like Jake’s every winter. Some situations are perfectly safe for a homeowner to tackle with a shovel and a little patience. Others really should be left to a snow removal crew with the right tools and insurance. Here’s how we talk our customers through that decision — and how you can safely dig out your own car when it makes sense.
Step 1: Size Up the Situation Before You Start Digging
Before we send our crew out to a job like Jake’s, we always assess conditions. You should do the same before you start shoveling.
Ask yourself:
- Where is the car? Street parking, a driveway, or on a hill?
- How deep is the snow? A few inches or above the bumper?
- What kind of snow is it? Light and fluffy, or heavy, wet, and packed from the plows?
- Is there a layer of ice? Shiny, slick patches usually mean there’s ice underfoot or under the tires.
- What’s around the car? Other vehicles, mailboxes, fire hydrants, or tight spaces that make maneuvering tricky.
If you’re seeing snow that’s as hard as a snowbank from a plow, or it’s piled much higher than your bumper, that’s already a sign it may be more than a quick DIY job.
Step 2: Gear Up and Protect Yourself First
On our snow removal jobs, we never let the crew start without proper gear. You should treat your driveway or street spot the same way.
Make sure you have:
- Sturdy, non-slip boots with good tread
- Waterproof gloves with insulation
- Layers of clothing (base layer, insulating layer, waterproof outer layer)
- A bright hat or jacket if you’re on or near the street, so drivers can see you
- A snow shovel with an ergonomic handle, or a pusher-style shovel for lighter snow
Safety tip we stress to homeowners: If you’re older, have heart or breathing issues, or you’re already exhausted from earlier shoveling, do not take on heavy, packed snow around a car by yourself. That’s exactly when you call a snow removal service like ours.
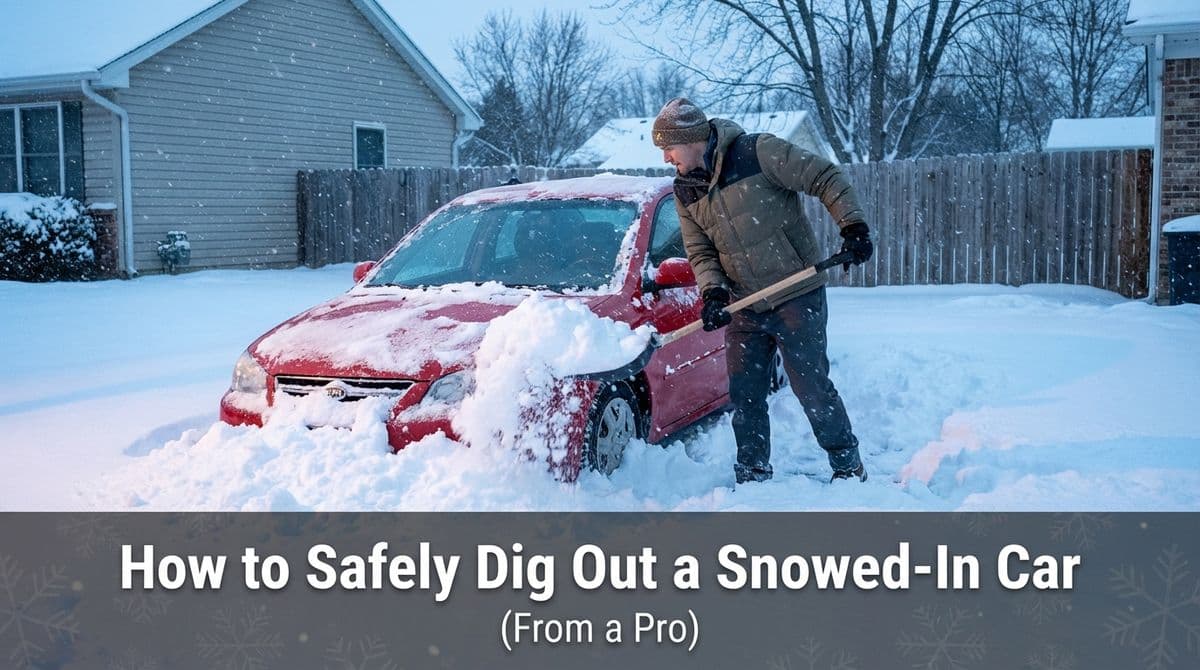
Step 3: Clear a Safe Path Around the Vehicle
When we help someone like Jake, our crew’s first goal is exactly what he asked for: clear enough space in front and behind the car so it can drive out safely. We don’t brush snow off the vehicle itself — that part is up to the owner — but we make sure the car has room to move.
Here’s the basic approach you can follow:
- Start at the sides. Clear a narrow path along both sides of the car so you can move freely without stepping into traffic or deep drifts.
- Work behind the car first. Shovel a lane behind the rear wheels at least as wide as your car and a few feet long. Think about where your tires will actually travel.
- Then tackle the front. Do the same in front of the car so you have enough room to pull forward and straighten out.
- Expose the tires. Carefully remove snow around (not against) each tire and down to the pavement if possible.
We tell our customers: focus on the tire paths and a clear lane in front and behind. You don’t have to carve out a perfect parking spot — just a safe escape route.
Shoveling Safety: Know When to Take Breaks
Out on jobs, we rotate crew members and watch for signs of overexertion. At home, it’s easy to ignore your limits. As you work:
- Take a 5–10 minute break every 20–30 minutes.
- Stop immediately if you feel chest pain, shortness of breath, dizziness, or extreme fatigue.
- Watch for frostbite signs: numbness, tingling, or pale/grayish skin on fingers, toes, nose, or ears.
- Drink water — cold weather dehydrates you more than you think.
If you start feeling wiped out halfway through, there’s no shame in stopping and calling a professional. We’d much rather finish the job for you than have you end up with an injury.
Step 4: Free the Tires and Improve Traction
Once the paths are mostly clear, our crews focus on what really matters: traction. You should, too.
Here’s what helps:
- Dig down behind and in front of each tire so the rubber can contact pavement or at least tightly packed snow, not loose powder.
- Break up snow “ridges” from the plow that sit right in front of or behind the tires.
- Add traction with sand, kitty litter, or commercial ice melt products (avoid rock salt on delicate concrete or near plants).
Avoid spinning your tires. Gentle, steady acceleration and rocking the car slightly forward and backward can help once you’ve made space — but only if the snow is reasonably cleared and you’re not at risk of sliding into another car or into the street.
When It’s Time to Call a Snow Removal Service Instead
We’re honest with people on the phone: sometimes it’s not worth doing it yourself, no matter how determined you are. Jake’s situation was borderline — street parking with plow-packed snow, but he had us as backup and was comfortable clearing off the car itself once we opened the exits.
Here are the red flags where we usually say, “This is a job for our crew”:
- The snow is higher than your bumper or packed solid by plows.
- You’re on a busy or narrow street where you’re working right next to traffic.
- There’s thick ice under the snow, and the car is on any kind of slope.
- You live with or are an older adult, or you have health concerns that make heavy shoveling risky.
- You’ve already spent an hour trying and barely made a dent.
Another recent caller — we’ll call her Linda — had her sedan on a side street where the plows had created shoulder-high walls of snow. She and her neighbor tried shoveling for a bit but realized they were just moving the top layer of a frozen bank. In a case like that, our crew brings heavier tools and takes the time to carve out a safe exit so no one ends up slipping into traffic or straining their back.
Key Takeaways to Keep You Safe This Winter
When a homeowner calls our team about a snowed-in car, we walk them through the same basics we’ve shared here: assess the snow and surroundings, gear up properly, clear safe paths around the car, and focus on freeing the tires and creating traction. Work slowly, take breaks, and listen to your body.
If the snow is deep, plow-packed, icy, or you’re not physically up for the job, that’s exactly when to call a snow removal service like ours. On our snow removal jobs, we’ll dig out around your vehicle so you can drive away safely — and you can handle brushing off the car when you’re ready, from the comfort of a cleared-out spot.
Not sure which side your situation falls on? Give our office a call, describe what you’re dealing with, and we’ll help you decide whether it’s a DIY project or a day to let the pros take the shovel.